JPG to DXF Converter for Laser, CNC and CAD

Upload a JPG or PNG. The AI traces it into closed vector outlines and the DXF opens at a known size in AutoCAD, LightBurn or your CAM software.

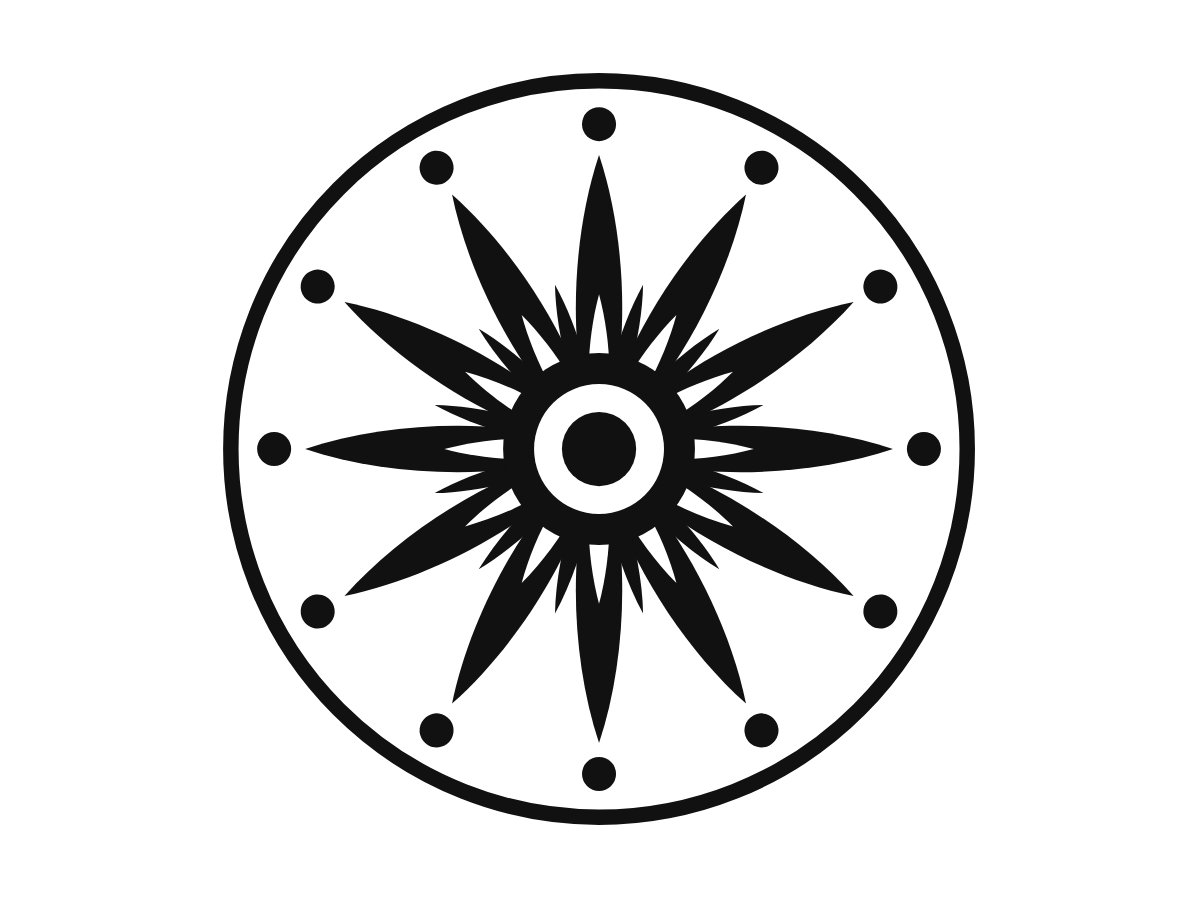
The same badge after JPG to DXF conversion: closed outlines exactly as they are stored in the DXF fileA black and white star badge saved as a JPG, the raster inputJPGDXF

Watermarked trial preview. When you vectorize image files for a clean download, it costs 10 credits and every format is included.

Download as

dxfsvgepspdfpngaig-codecricut
  • Encrypted upload
  • Watermarked preview first
  • Commercial use included
  • Closed polylines
  • Millimetre units
  • One layer per colour
  • Free watermarked preview

What you get in the DXF file

Every shape is a closed polyline

Each traced shape is written as one closed POLYLINE, so a laser, router or plasma cutter sees a clean loop it can cut in one pass. There are no loose segments to join and no gaps to repair. Only the Single line style writes open lines, because it traces strokes rather than shapes.

Real units: millimetres, 100 mm wide

The DXF header declares millimetres and the drawing is exactly 100 mm wide, the same as our G-code. AutoCAD, LightBurn and Fusion 360 open it at a known size, and you scale it once to the part you are making.

One layer per colour

Colours become layers named after their hex value, for example COLOR_000000. In laser software you can give each layer its own power and speed, or hide the layers you do not want to cut.

Every format in one download

A clean JPG to DXF download is not just the DXF. The same 10 credits also give you SVG, EPS, PDF, PNG and laser G-code of the same trace, so a second format never costs a second conversion.

What a JPG to DXF converter actually has to do

A JPG is a grid of coloured pixels. A DXF (Drawing Exchange Format, the open CAD format Autodesk introduced with AutoCAD) is a list of geometry: lines, arcs and polylines with coordinates. A JPG to DXF converter therefore has to find the edges of every shape in the picture and redraw them as vector outlines. Changing the file extension or wrapping the pixels in a DXF does not work: CAD and CAM programs need paths they can select, offset and cut.

Many free JPG to DXF converters take exactly that shortcut, or trace with a single brightness threshold, and you get jagged stair-step edges, hundreds of fragments, or a raster image stuck inside the drawing. We trace with the same AI vectorizer used for logos and print files, which fits smooth curves and straight lines to the shapes, then write each shape to the DXF as a closed polyline in millimetres.

The result is a 2D drawing you can scale, dimension and cut. It is not a 3D model and it does not recognise text as editable CAD text: letters become outlines, which is what a laser or plotter needs anyway.
How to convert JPG to DXF in three steps

The watermarked preview is free, so you can see the traced shapes before you spend a credit.

  1. Step 1: Upload the JPG

    Drop a JPG, PNG or WebP into the box above, up to 5 MB; larger photos are resized in your browser first. A quick check warns you if the image is blurry or tiny before you start. Pick the Cut-ready style for cutting jobs; it keeps four colours and removes specks.

  2. Step 2: Check the traced preview

    After about 10 to 20 seconds you see the vector result next to your original. Compare the edges, try Stencil for pure black and white or Laser / CNC for outlines only, and use Retry in HD if a small image looks rough.

  3. Step 3: Download the DXF

    Press Download DXF (10 credits) and the DXF file saves straight away; SVG, EPS, PDF and G-code of the same trace stay available at no extra cost. Open it in AutoCAD, LightBurn or your CAM tool, set the final size and cut.

A JPG logo on the left and the same design as JPG to DXF closed vector outlines on the right
The JPG and its DXF side by side
A raster JPG badge at pixel level before tracing, showing the soft edges the tracer removes
Step 1: the raster pixels you upload
The traced vector preview of the badge with flat colour areas and smooth curves
Step 2: the traced vector preview
The exported DXF opened as a CAD toolpath: every shape a closed outline ready for laser cutting
Step 3: the DXF as a cutting toolpath

Why makers use this converter for laser and CNC work

You see the result before you pay

Most desktop tracers make you install software first, and most online converters charge or email the file before you can judge it. Here the JPG to DXF preview is free and watermarked, so a bad source image costs you nothing.

AI curves instead of stair steps

Threshold tracers follow every pixel and JPEG artefact. The AI tracer fits smooth Bézier curves and straight edges, and the DXF export flattens them finely enough that a circle cuts as a circle, not a polygon with visible facets.

Settings that match cutting jobs

Cut-ready reduces colours and drops specks, Stencil makes a two-colour design, Laser / CNC keeps outlines only, and Single line traces the centre of strokes for engraving. Switching styles is free and does not start a new conversion.

Private files, gone after 24 hours

Your image and its DXF are stored privately and deleted automatically after 24 hours. Nothing is published, shared or used for training, which matters when the JPG is a client logo or a part drawing.

JPG to DXF recipes for real jobs

Laser-cut wooden sign from a logo

Input
A JPG of a two-colour shop logo, about 1,500 px wide.
Setting
Stencil style, then DXF; in LightBurn set the cut layer.
Output
Closed outlines at 100 mm, scaled to a 400 mm sign.
Watch out
Fine letters under 1 mm at final size may burn away.

CNC plasma silhouette in steel

Input
A high-contrast JPG silhouette of an animal or truck.
Setting
Cut-ready style with speck removal, DXF into your CAM tool.
Output
One outer loop plus inner holes on a single layer.
Watch out
Add tabs or bridges in CAM for parts that would fall out.

Reference drawing in AutoCAD

Input
A scanned JPG of a hand sketch or an old part drawing.
Setting
Single line style for thin strokes, then DXF.
Output
Polylines along the centre of each line, ready to trace over.
Watch out
Dimensions and text are shapes, not CAD dimensions or text.

Vinyl or engraving outline

Input
A clean JPG badge or monogram on a white background.
Setting
Laser / CNC style for outlines only; export DXF or G-code.
Output
Outline paths for a plotter, engraver or cutting machine.
Watch out
Very detailed photos produce too many paths to weed or cut.

Tips for a clean DXF from a JPG

  • For JPG to DXF work, start from the sharpest copy you have. A 1,000 px or larger JPG of a logo converts far better than a thumbnail; for small or soft images use Retry in HD (5 extra credits), which upscales before tracing.
  • Crop to the design and avoid photos of screens or paper at an angle. Straight-on scans with even lighting give straight edges and round circles.
  • Fewer colours means fewer layers and fewer cuts. Use Cut-ready or Stencil, or lower the colour count, until each part you want to cut is one solid area.
  • Check small holes and thin bridges before cutting a stencil. The tracer keeps what is in the image; it does not add bridges, so letters like O and A may drop their centres when cut.
  • Scale in your CAD or laser software, not in the image. The DXF is 100 mm wide by design; set the real width there and the proportions stay exact.

What this JPG to DXF page does not do

We do not write DWG files; open the DXF in AutoCAD and save it as DWG if you need one. The converter makes 2D outlines only, not 3D models or STL. It does not run OCR, so text in the image becomes vector outlines rather than editable CAD text, and it does not detect dimensions or scale from the drawing. Photos with gradients can be traced, but they become many small colour patches that are rarely practical to cut. The watermarked PNG preview is free to download; the clean DXF costs 10 credits, from the $6.99 Starter Pack or a $9.99 monthly plan.

Frequently asked questions about JPG to DXF